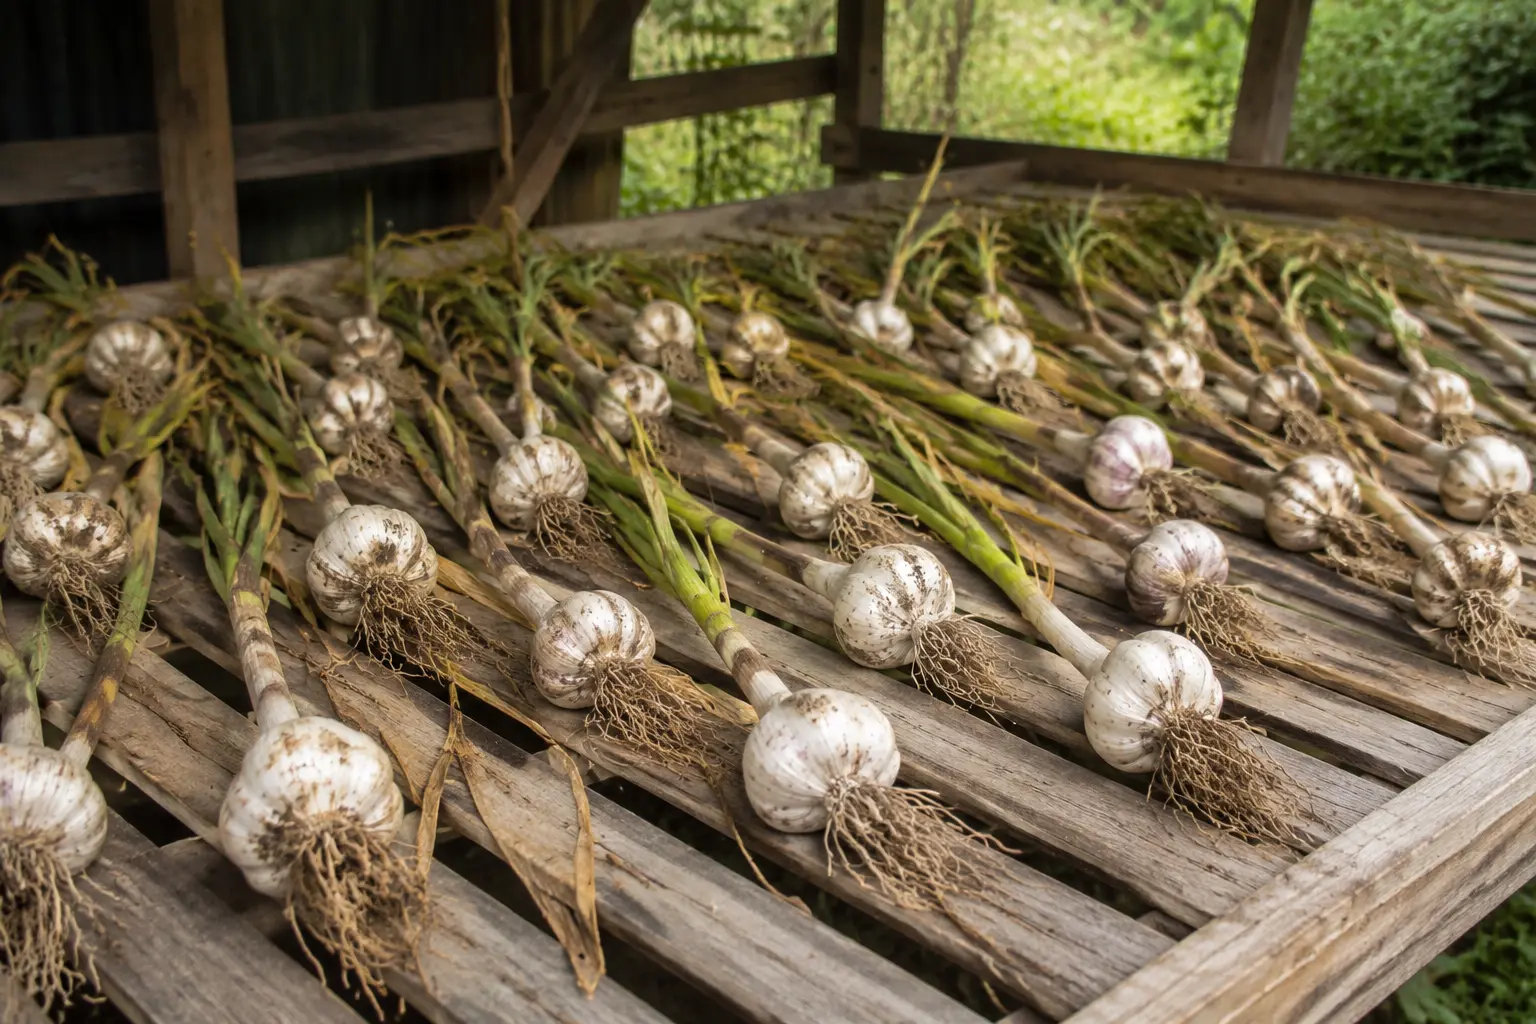
Lift garlic when the lower leaves are brown but about half of the upper leaves are still green. Keep the shoots and roots attached, knock off only large soil clumps, and place the whole plants in a warm, dry, airy location out of bright sun. University of Minnesota Extension recommends curing for 3 to 4 weeks. Garlic is ready when the outer skins are dry and papery, the neck is dry, and the shoots and roots have dried. Then trim the shoots ½ to 1 inch above the bulb, trim the roots close, remove soft or damaged bulbs, and store the sound bulbs in a breathable container in cool, dry conditions.
Print a clean copy or save it as a PDF for the kitchen.
Saveable field method
How to cure garlic after harvest
A practical six-step method for harvesting, drying, sorting, and storing homegrown garlic.
What you need
- Mature garlic plants with shoots and roots attached
- Garden fork or spade
- Slatted rack, screen, or hanging twine
- Mesh bag, open basket, or garlic braid
- Thermometer for the storage area
- Check maturity
Harvest when the lower leaves have browned while half or slightly more of the upper leaves remain green. Dig one test bulb if uncertain; the cloves should fill their skins.
- Lift instead of pulling
Loosen the soil with a fork or spade and lift each plant carefully. Keep the shoots and roots attached and avoid cuts or bruises.
- Remove only loose soil
Knock off large clumps gently. Do not wash bulbs intended for curing, and do not peel away their protective wrappers.
- Cure with shade and airflow
Lay plants loosely on a rack or hang small bundles in a warm, dry, airy, shaded place. Keep bulbs out of bright sun and do not pack them into sealed containers.
- Wait for dry necks and skins
Allow about 3 to 4 weeks under ordinary home-garden conditions. The neck, roots, outer skins, and shoots should be fully dry before trimming.
- Trim, sort, and store
Cut shoots ½ to 1 inch above sound bulbs, trim roots close, and remove soft or damaged bulbs. Store with airflow in cool, dry conditions without freezing.
Harvest garlic before the wrappers split
Garlic does not need to be completely brown before harvest. University of Minnesota Extension advises beginning when the lower leaves turn brown and half or slightly more than half of the upper leaves remain green. Utah State similarly recommends harvesting as tops begin to yellow or fall over, before they are completely dry. Waiting until every leaf is brown can leave overmature bulbs with exposed cloves that store poorly.
Use a garden fork or spade to loosen the soil beside the bulb, then lift gently. Do not yank on the stalk. Fresh garlic bruises easily, and wounds create weak points during storage. Leave shoots and roots attached for the ordinary home-garden curing method and knock off only large, loose clumps of soil.
Cure garlic in a warm, dry, airy place
Spread whole plants loosely on a slatted rack or screen, or hang them in small bundles where air reaches every bulb. A dry shed, garage, porch, or barn can work if it stays shaded and ventilated. University of Minnesota notes that good air circulation is crucial; UMass warns that bright sunlight can cause sunscald and poorly ventilated barns can increase disease loss.
For a dependable home-garden target, allow 3 to 4 weeks, as recommended by University of Minnesota Extension. Utah State gives 1 to 2 weeks in a warm, shady location, and UMass describes faster commercial-style curing in 10 to 14 days under tightly managed airflow. Those ranges are not truly contradictory: temperature, humidity, crop volume, trimming, and airflow change the drying time. Judge the bulb, not only the calendar.
- Keep bulbs out of rain, dew, condensation, and bright sunlight.
- Use a single loose layer or small bundles rather than a deep pile.
- Do not wash bulbs before curing or strip off protective skins.
- Add a fan only to improve gentle airflow; do not aim hot air at the crop.
Know when garlic is fully cured
Cured garlic has dry, papery outer wrappers; dry, stiff roots; a constricted dry neck; and shoots that have withered. University of Minnesota's postharvest guidance says onions and garlic are finished when their necks are dry, usually after 3 to 4 weeks. UMass adds that the center of a cut stem should be hard.
Once cured, brush away loose dirt and excess loose skin without exposing the cloves. Trim the roots close to the base and cut hardneck shoots about ½ to 1 inch above the bulb. Fully dry softneck garlic can also be braided. Set aside bulbs with cuts, soft spots, open wrappers, mold, or insect damage for immediate evaluation rather than mixing them into long-term storage.
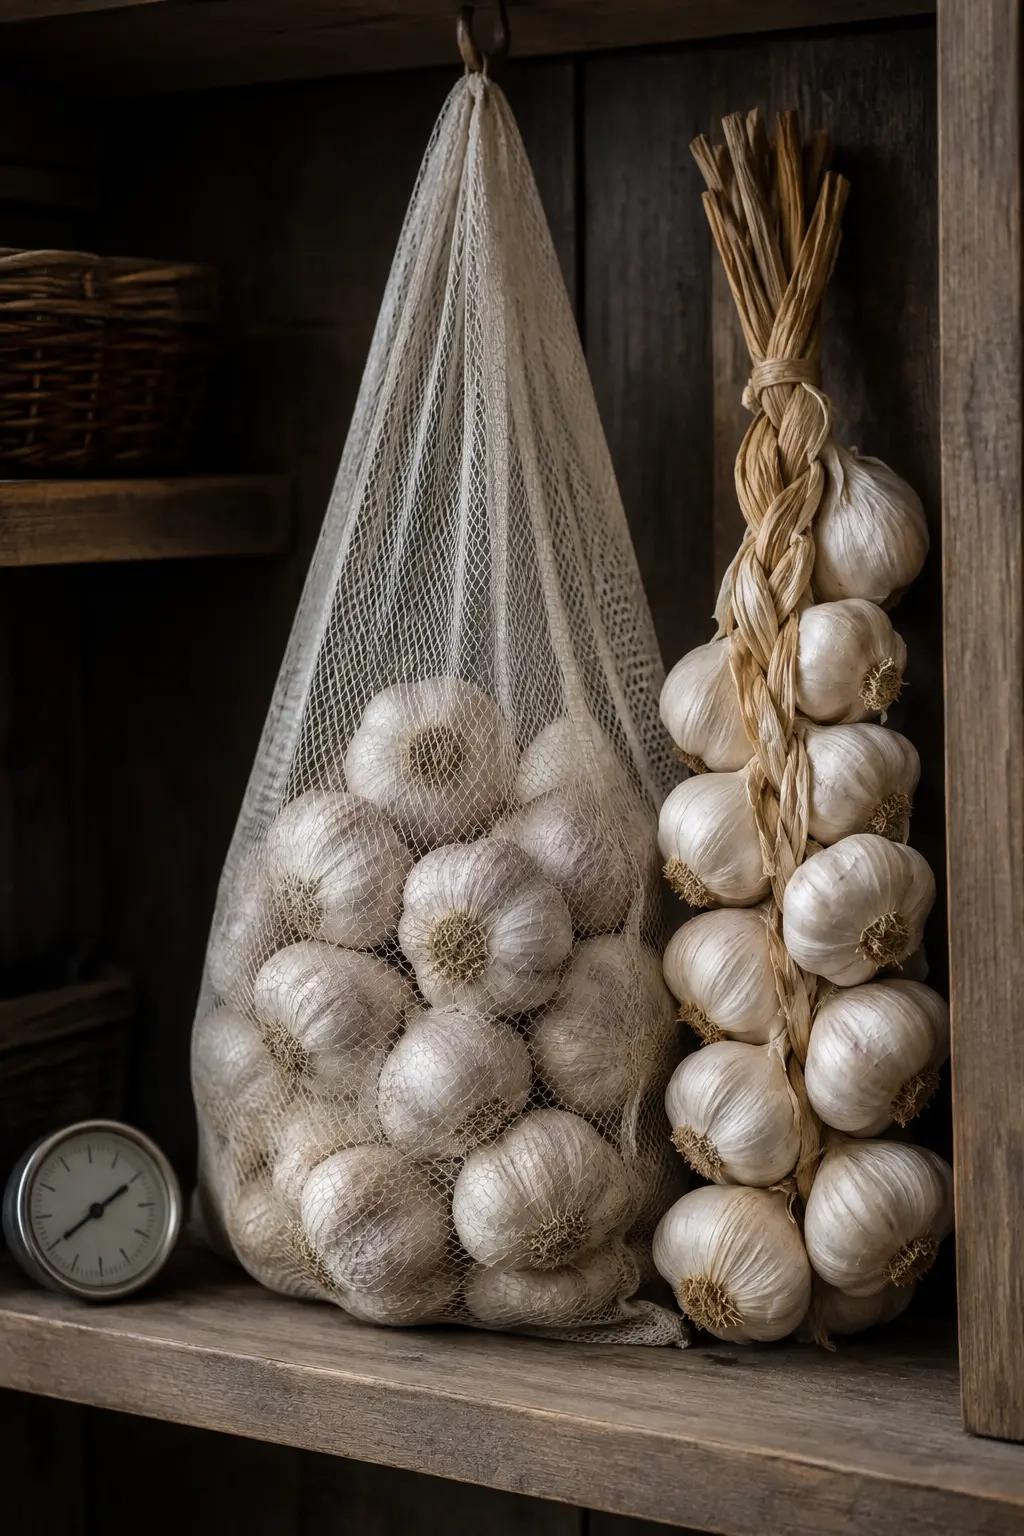
Store cured garlic cool, dry, and ventilated
Use a mesh bag, open basket, or braid so moisture cannot collect around the bulbs. Utah State recommends cool, dry storage at 32–40°F and says to avoid freezing. University of Minnesota describes a household refrigerator as cold and dry enough for long-term garlic storage, but use breathable packaging rather than an unperforated plastic bag that traps condensation.
Storage life depends on variety and conditions. UMass reports 6 to 7 months for well-cured garlic at 30–32°F, 60–70% relative humidity, and good airflow; ordinary warm rooms shorten that potential. Inspect stored bulbs every week or two and remove anything soft, wet, moldy, or strongly odorous. Keep the largest healthy bulbs separate if you plan to use them as planting stock, because seed garlic has different ideal storage conditions from kitchen garlic.
Is curing garlic an Amish practice?
Curing harvested garlic is a broad horticultural method, not a uniquely Amish practice. Amish communities are diverse, and local church districts differ in farming, technology, and household choices. A photograph of garlic hanging in a barn—or a website calling a method Amish—does not establish a universal cultural practice.
Plain & Frugal treats this as an Amish-inspired old-fashioned habit: preserve a homegrown crop with shade, airflow, attention, and little equipment. The harvest timing, curing criteria, and storage conditions in this guide come from current university Extension sources, not from an invented claim about Amish households.
Frequently asked questions
How long does garlic need to cure after harvest?
Plan on about 3 to 4 weeks for a typical home-garden setup. Faster drying is possible under carefully managed warmth and airflow, but garlic is ready only when the neck, roots, shoots, and outer wrappers are dry.
Should you wash garlic before curing it?
No. Knock off large clumps of soil gently and keep the bulbs dry. Washing adds moisture, and removing wrappers exposes cloves that would otherwise be protected during storage.
Can you cure garlic in a garage?
Yes, if the garage is dry, shaded, and well ventilated. Lay plants loosely on a rack or hang small bundles, protect them from condensation, and avoid bright sun or excessive heat.
Do you cut garlic tops before curing?
For the simplest home-garden method, keep shoots and roots attached during curing and trim them afterward. Commercial guidance shows that trimmed bulbs can also cure successfully when airflow is carefully managed, but leaving tops attached makes hanging easy.
What temperature is best for storing cured garlic?
Utah State recommends cool, dry storage at 32–40°F without freezing. For the longest storage, UMass reports 30–32°F, 60–70% relative humidity, and good airflow.
How can you tell if stored garlic has gone bad?
Discard bulbs that are soft, wet, moldy, leaking, or foul-smelling. A dry bulb may gradually shrivel or sprout as it ages; use sound bulbs promptly and keep deteriorating ones away from the rest.
Sources and further reading
- University of Minnesota Extension — Growing Garlic in Home Gardens
- University of Minnesota Extension — Postharvest Handling of Fruit and Vegetable Crops
- University of Minnesota Extension — Harvesting and Storing Home Garden Vegetables
- Utah State University Extension — How to Grow Garlic in Your Garden
- UMass Extension — Garlic Harvest, Curing, and Storage
- Elizabethtown College Young Center — Amish Diversity
This article may use AI-assisted research organization and drafting. Claims involving safety, energy, or household costs are checked against the named sources above. Read about the founder and our editorial standards.