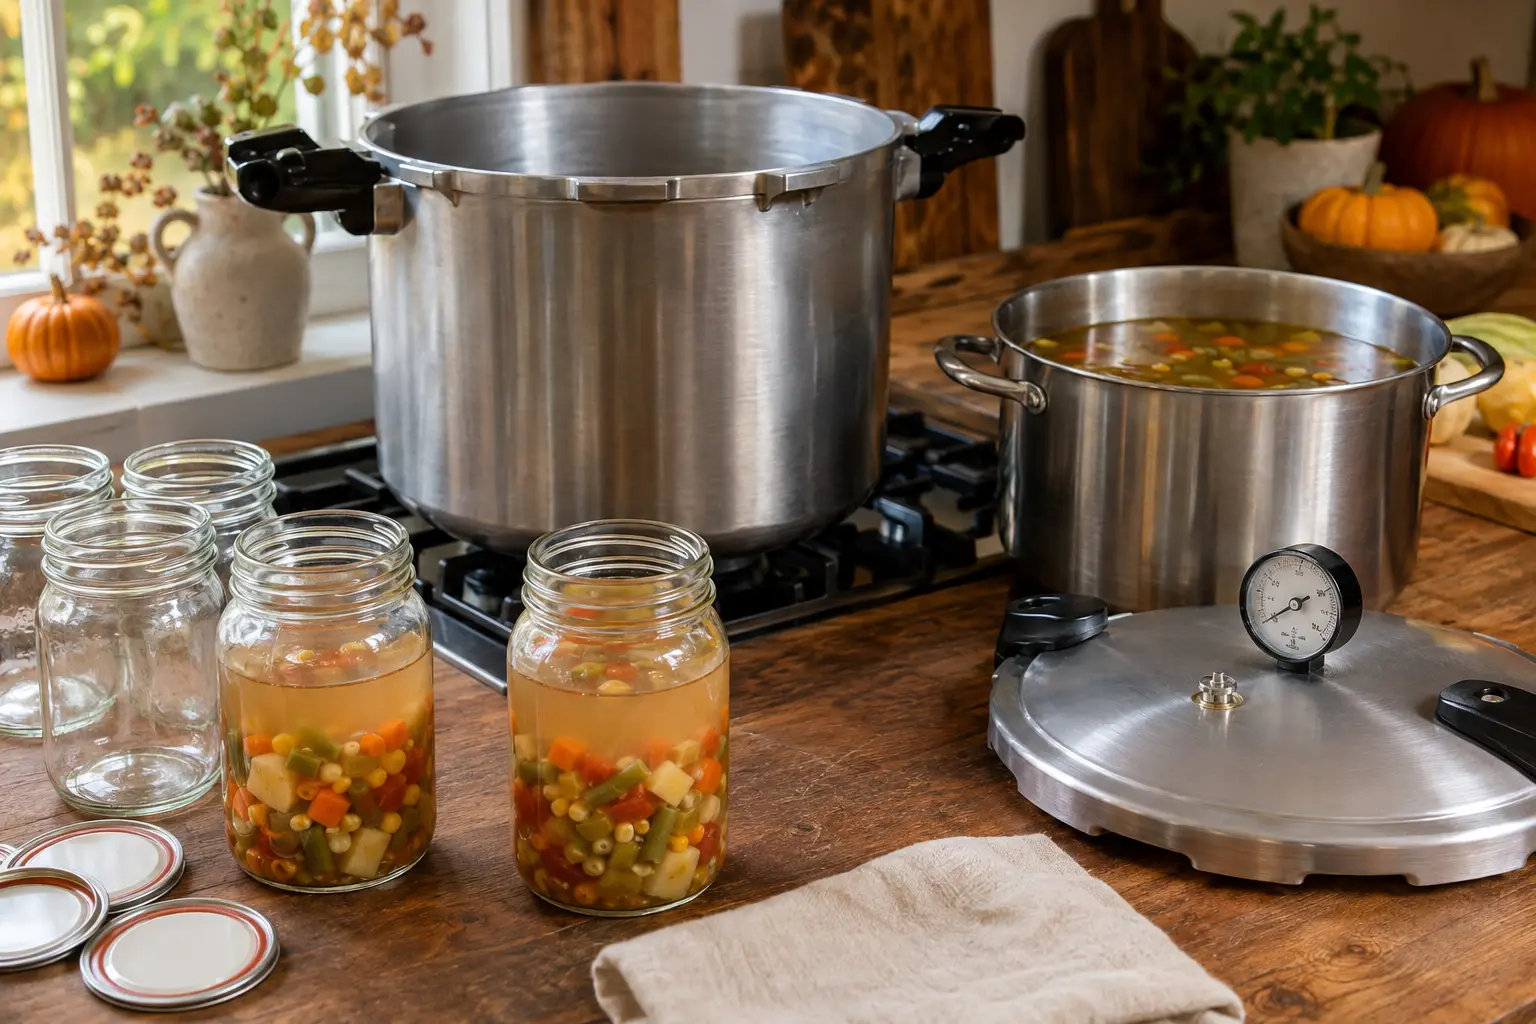
No. Do not water-bath can ordinary homemade soup. Soups containing vegetables, beans, meat, poultry, or seafood are low-acid foods and must be processed in a true stovetop pressure canner. The tested National Center method is for a hot, unthickened soup made only with ingredients that each have their own canning recommendation: fill each jar halfway with solids, cover with liquid, leave 1 inch of headspace, and process pints for 60 minutes or quarts for 75 minutes at the pressure required for your gauge and altitude. Process seafood soups for 100 minutes. Leave out noodles, other pasta, rice, flour, cream, milk, and every other thickener; add those after opening the jar.
Print a clean copy or save it as a PDF for the kitchen.
Saveable field method
How to pressure-can a flexible homemade soup safely
Use the USDA-based soup method for eligible ingredients, a thin liquid, half-full jars, and the correct pressure for altitude.
What you need
- Vegetables, meat, poultry, dried beans or peas, or seafood that each have separate tested canning directions
- Meat broth, tomatoes, or water for the liquid
- Canning salt, optional
- Pint or quart home-canning jars with new lids
- A true stovetop pressure canner that holds at least four upright quart jars
- Large cooking pot
- Jar lifter, canning funnel, bubble remover, and headspace measure
- Check every ingredient
Use only vegetables, dried beans or peas, meat, poultry, or seafood that have their own tested home-canning directions. Do not invent a process for an ingredient that lacks one, and do not include pasta, rice, flour, dairy, or thickeners.
- Prepare ingredients by their own directions
Wash and prepare vegetables according to their specific hot-pack instructions. Cover meat with water and cook until tender, then cool, remove bones, and remove excess fat. Fully rehydrate dried beans or peas before combining them with the soup.
- Combine and boil
Combine the prepared solids with meat broth, tomatoes, or water to cover. Bring the mixture to a boil and boil for 5 minutes. Keep the soup thin; do not purée or thicken it.
- Fill each jar halfway with solids
Use a slotted spoon to fill each hot jar only halfway with solid ingredients. Add hot liquid to cover the solids while leaving 1 inch of headspace. This half-solids rule is part of the tested heat-penetration process.
- Pressure-can for the tested time
Process pints for 60 minutes or quarts for 75 minutes at the pressure required for your gauge and altitude. If the soup contains seafood, process jars for 100 minutes. Follow the complete source recipe and your canner manufacturer's venting and cooling directions.
- Finish the soup after opening
When serving, reheat the soup thoroughly and add cooked noodles, rice, milk, cream, flour slurry, cornstarch, or other desired finishing ingredients only after the jar has been opened.
Why a boiling-water bath is not enough for soup
A boiling-water canner is for foods acidic enough to control botulism risk at boiling-water temperatures. Ordinary soups commonly contain low-acid vegetables, beans, meat, poultry, or seafood. The CDC says pressure canning is the only recommended home-canning method for low-acid foods; a boiling-water bath does not provide the required protection.
A sealed lid is not proof that a low-acid food was safely processed. Botulinum toxin cannot be seen, smelled, or tasted, so an old family method, oven canning, open-kettle canning, or an electric multi-cooker setting is not a substitute for a current tested process in a proper pressure canner.
Which homemade soups fit the tested method?
The National Center's flexible soup directions cover vegetable, dried bean or pea, meat, poultry, and seafood soups only when every solid ingredient already has separate canning recommendations. Prepare each ingredient as its own directions require before combining it with broth, tomatoes, or water.
That flexibility does not make every favorite recipe canning-safe. If an ingredient has no tested home-canning directions, leave it out and add it after opening, or freeze the finished soup instead. Freezing is usually the simplest option for recipes built around pasta, rice, cream, cheese, flour, puréed vegetables, or other dense ingredients.
The half-solids rule protects heat penetration
After the prepared ingredients are combined with liquid and boiled for 5 minutes, fill each jar only halfway with solid ingredients. Then add the hot liquid, leaving 1 inch of headspace. The extra liquid and limited amount of solids help heat move through the jar as expected by the tested process.
Do not pack in extra vegetables or meat to make a concentrated meal jar. Do not purée the soup, reduce it until thick, or add flour or starch. Density changes how quickly the coldest part of the jar heats, so changing the solid-to-liquid ratio changes the process that was tested.
Processing time and pressure by altitude
For soup without seafood, process hot-packed pints for 60 minutes or quarts for 75 minutes. Soup containing seafood requires 100 minutes. Time is only one part of the process: the required pressure changes with canner type and elevation.
Use the full National Center directions and the operating instructions for your canner. Start timing only after the canner reaches the required pressure, maintain that pressure for the entire process, and let the canner depressurize naturally before opening it.
- Dial-gauge, 0–2,000 feet: 11 pounds pressure.
- Dial-gauge, 2,001–4,000 feet: 12 pounds pressure.
- Dial-gauge, 4,001–6,000 feet: 13 pounds pressure.
- Dial-gauge, 6,001–8,000 feet: 14 pounds pressure.
- Weighted-gauge, 0–1,000 feet: 10 pounds pressure.
- Weighted-gauge, above 1,000 feet: 15 pounds pressure.
Ingredients to add only after opening
Leave noodles and other pasta, rice, flour, cream, milk, and all other thickening agents out of the jar. The National Center explicitly excludes them from its soup process. Oregon State Extension's tested clam chowder base makes the same principle practical: the shelf-stable jar contains a thin base, while butter and milk are added during reheating.
Treat the jar as a safe pantry base rather than a completely finished recipe. After opening, you can add cooked pasta or rice, dairy, a roux, cornstarch, fresh herbs, or other finishing ingredients. This keeps the preserved mixture within the tested process while still letting you vary the meal at serving time.
Is home-canned soup an Amish practice?
Making soup from garden produce and preserving food for later are widespread household practices, not uniquely Amish customs. The Young Center cautions that Amish affiliations and local church districts differ substantially, including in permitted technologies, so no single canning routine should be described as universal Amish practice.
This guide is Amish-inspired only in its plain-living aim of turning seasonal ingredients into useful pantry meals. Its equipment rules, ingredient limits, jar ratio, time, pressure, and altitude adjustments come from current USDA-based, CDC, and university Extension guidance—not cultural folklore.
Frequently asked questions
Can you water-bath can vegetable soup?
No. Ordinary vegetable soup is low-acid and must be pressure-canned using a current tested process. A boiling-water bath is not an acceptable substitute.
How long do you pressure-can homemade soup?
For eligible soup without seafood, process pints for 60 minutes or quarts for 75 minutes. Process seafood soup for 100 minutes. Use the pressure required for your gauge and altitude and follow the complete tested directions.
Can you can soup with noodles or rice in it?
No. The tested soup directions exclude noodles, other pasta, and rice. Can the thin soup base, then add cooked noodles or rice after opening and reheating the jar.
Can you pressure-can cream soup?
Not with the flexible USDA-based soup method. Leave milk, cream, butter, cheese, flour, and other thickeners out of the jar. Add dairy and thickening ingredients after opening, or freeze the finished cream soup.
Can you use an electric pressure cooker to can soup?
No. The CDC advises against electric multi-cookers, even models with a canning button. Use a recommended stovetop pressure canner large enough to hold at least four upright quart jars.
Can you can your usual family soup recipe?
Only if it fits a current tested recipe exactly or the flexible soup directions: every ingredient must have its own canning recommendation, jars must be half solids and half liquid, and excluded ingredients must be added after opening. Otherwise, freeze the finished soup.
Sources and further reading
- National Center for Home Food Preservation — Soups
- Oregon State University Extension — Canning Soup (revised June 2025)
- CDC — Home-Canned Foods and Botulism (April 25, 2024)
- Young Center for Anabaptist and Pietist Studies — Amish Diversity
This article may use AI-assisted research organization and drafting. Claims involving safety, energy, or household costs are checked against the named sources above. Read about the founder and our editorial standards.